The 2018 Honda Odyssey Manual is a comprehensive guide,
available on urvi.net and techinfo.honda.com,
providing essential information for owners,
including operating instructions and maintenance tips.
Overview of the Vehicle
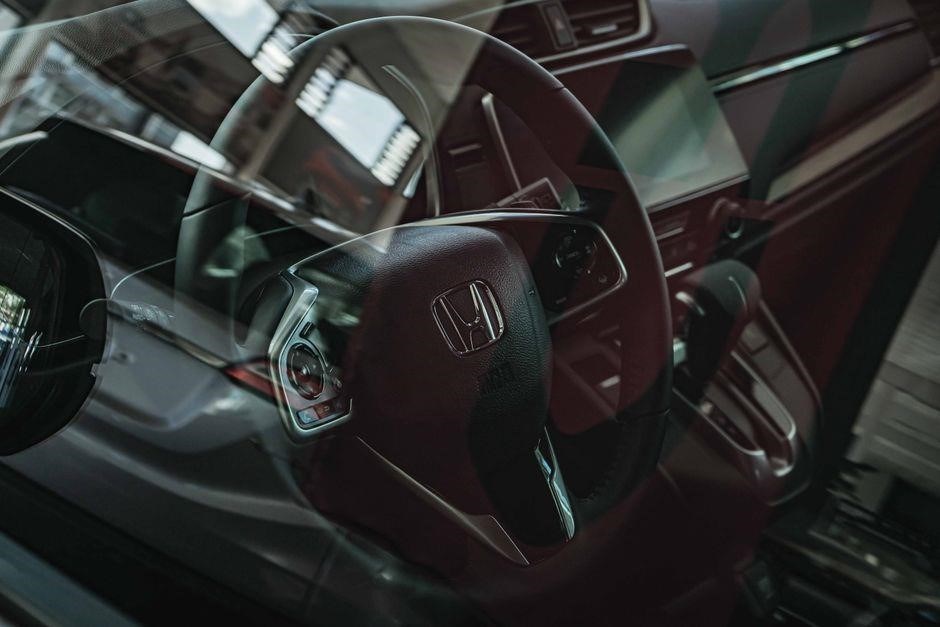
The 2018 Honda Odyssey is a minivan designed for comfort and practicality,
featuring a 3.5-liter V6 engine and 10-speed automatic transmission.
It offers a spacious interior with seating for up to 8 passengers,
and a range of innovative features, including infotainment systems and safety technologies.
The vehicle is built on a robust platform, ensuring stability and smooth handling,
making it an ideal choice for families and road trips.
With its aerodynamic design and advanced materials,
the 2018 Honda Odyssey is a reliable and efficient vehicle,
providing a comfortable and enjoyable driving experience.
The 2018 Honda Odyssey is available in various trim levels,
each offering a unique set of features and options,
allowing owners to customize their vehicle to suit their needs.
Overall, the 2018 Honda Odyssey is a versatile and practical vehicle,
designed to meet the needs of modern families.
Importance of the Owner’s Manual
The owner’s manual is a crucial document that provides essential information about the vehicle’s operation, maintenance, and troubleshooting.
It is important to read and understand the manual to ensure safe and proper use of the vehicle.
The manual contains valuable information on vehicle features, settings, and operating procedures,
which can help prevent accidents and reduce maintenance costs.
Additionally, the manual provides guidance on how to perform routine maintenance tasks,
such as oil changes and tire rotations,
which can help extend the life of the vehicle.
By following the instructions in the manual, owners can ensure their vehicle is running safely and efficiently.
The manual is available online at urvi.net and techinfo.honda.com,
making it easy to access and reference the information needed to keep the vehicle in good condition.

Availability of the Manual
The 2018 Honda Odyssey Manual is available online at urvi.net and techinfo.honda.com,
for easy access and download.
Online Resources for the Manual
The 2018 Honda Odyssey Manual can be found on various online platforms, including urvi.net and techinfo.honda.com, which provide easy access to the manual. Additionally, online marketplaces like Amazon offer the manual for download or purchase. These online resources make it convenient for owners to access the manual from anywhere, at any time, and stay up-to-date with the latest information. With the manual available online, owners can quickly search for specific topics, print out relevant pages, and save the manual to their devices for future reference. The online resources for the manual are reliable and trustworthy, ensuring that owners receive accurate and up-to-date information. By utilizing these online resources, owners can maximize their use of the manual and get the most out of their vehicle.

Purchase Options for the Manual
The 2018 Honda Odyssey Manual can be purchased from various online retailers, including Amazon and eBay. These online marketplaces offer a convenient and hassle-free way to purchase the manual, with fast shipping options available. Additionally, the manual can be purchased from authorized Honda dealerships, which provide a genuine and authentic copy of the manual; The purchase options for the manual are flexible and varied, allowing owners to choose the method that best suits their needs. With the manual available for purchase, owners can ensure they have access to the latest information and stay up-to-date with the latest updates and revisions. The purchase options for the manual are reliable and trustworthy, providing owners with a genuine copy of the manual. Owners can also purchase the manual in different formats, including digital and print versions, making it easier to access and use the manual.

Contents of the 2018 Honda Odyssey Manual
The manual includes sections on vehicle specs and features, with detailed information on operation and maintenance, making it a valuable resource for owners.
General Information and Specifications
The 2018 Honda Odyssey Manual provides detailed information on vehicle specs, including engine type, transmission, and fuel capacity, as well as dimensions and weight specifications.
Additionally, it covers warranty information, maintenance schedules, and recalls.
- Vehicle Identification
- Technical Specifications
- Compliance Information
The manual is a valuable resource for owners who want to understand their vehicle’s capabilities and limitations, and to ensure proper maintenance and care. With this information, owners can make

Operating and Maintenance Instructions
The 2018 Honda Odyssey Manual provides detailed instructions on how to operate and maintain the vehicle, including pre-start checks, driving tips, and routine maintenance procedures.
It covers topics such as oil changes, tire pressure, and brake pad replacement, as well as troubleshooting guides for common issues.
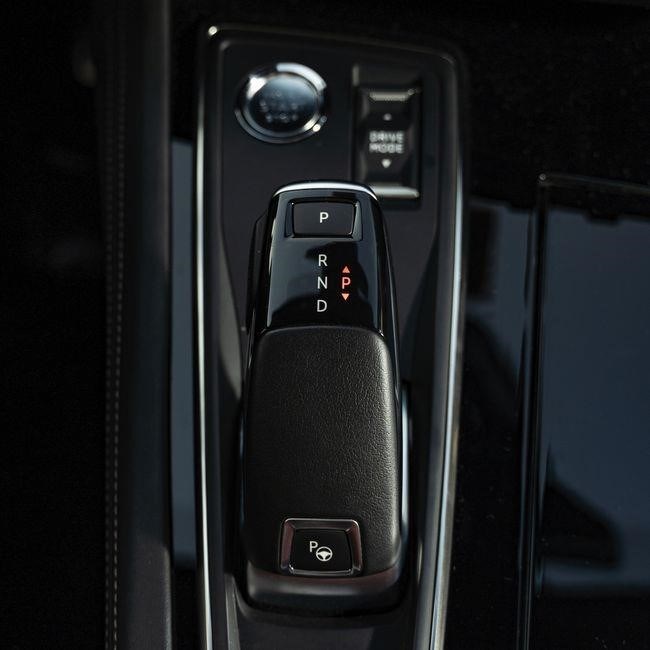
- Instrument Panel and Controls
- Safety Features and Precautions
- Driving Tips and Techniques
The manual also includes warnings and cautions to help owners avoid potential hazards and ensure safe operation of the vehicle. By following the instructions and recommendations outlined in the manual, owners can help prevent problems and extend the life of their vehicle. The 2018 Honda Odyssey Manual is available online at urvi.net and techinfo.honda.com, making it easy for owners to access and download the information they need to properly operate and maintain their vehicle. Regular maintenance and inspections can help identify and address potential issues before they become major problems. The manual provides step-by-step instructions and illustrations to help owners understand and perform routine maintenance tasks.

Troubleshooting and Repair
The 2018 Honda Odyssey Manual offers guidance on troubleshooting and repair, helping owners identify and fix common issues, with step-by-step instructions and diagnostic tools.

Common Issues and Solutions
The 2018 Honda Odyssey Manual provides valuable insights into common issues and their solutions, including troubleshooting guides for engine, transmission, and electrical systems, as well as repair tips for brakes, suspension, and steering, helping owners to identify and fix problems efficiently and effectively, with step-by-step instructions and diagnostic tools, and recommended maintenance schedules to prevent future issues, ensuring optimal performance and longevity of the vehicle, and minimizing the need for costly repairs and replacements, while also enhancing the overall driving experience and safety features, with detailed information on troubleshooting and repair procedures, and illustrations to facilitate the diagnostic and repair process, making it an invaluable resource for owners and mechanics alike, and providing a comprehensive understanding of the vehicle’s systems and components, and enabling them to perform routine maintenance and repairs with confidence and accuracy.

DIY Repair and Maintenance Tips
The 2018 Honda Odyssey Manual offers practical advice on DIY repair and maintenance, including step-by-step guides for oil changes, filter replacements, and tire rotations, as well as troubleshooting tips for common issues, and recommended tools and equipment for safe and effective repairs, with illustrations and diagrams to facilitate the process, and advice on how to save money and extend the life of the vehicle, by performing routine maintenance and repairs yourself, with confidence and accuracy, and minimizing the need for costly repairs and replacements, while also enhancing the overall driving experience and safety features, with tips on how to identify and fix common problems, and resources for further information and support, making it an invaluable resource for DIY enthusiasts and vehicle owners alike, and providing a comprehensive understanding of the vehicle’s systems and components, and enabling them to perform routine maintenance and repairs with ease and confidence, and extending the life of the vehicle.